How to prepare for your Professional Headshot in 2022-for a feminine look


Finding the Best Rochester Headshot Photographer for you is only the first step.
Finding a professional headshot photographer to create your headshot is only this first step in being happy with the end product. Once you have spoken to a few different head shot photographers about their process and seen their work and decided on one, it’s now up to you to get yourself ready for the photography session. Whether your’s will take place in a studio or at your place of business, there are a number of steps you can take to come away with a professional headshot that turns heads.
The first step to prepare for your headshot starts days before the photo session. Now you aren’t going to lose those 5lbs that have been hanging around since the holidays in a few days but you can improve your skin and hair with a few simple steps…
Step 1… YOU!
Days in Advance: It’s all about the skin baby! Drink your H2o! Water is your best friend when it comes to helping your skin to be as vibrant as possible come your session day. Challenge yourself to 72oz a day for the 72 hours leading up to your headshot session. Stay away from the sauce. (alcohol causes inflammation which shows up as puffiness & reddish marks beneath your eyes) and stay away from salty foods (bloat). Stay out of the sun. Moisturize.
A few days ahead: Nothing brand new. Get all beauty treatments a few days ahead to allow them to settle in (haircut, color, eyebrows, tanning, etc.). Ladies with shaved or brightly colored hair feel free to edge it up as close to your headshot session as you’d like!
Night before: Sweet dreams. 8 HOURS OF THEM! The more sleep your body gets the more it heals itself.
Day of: Wear or bring clean, pressed clothes. Bring options! We will have time to try different looks. Come with full belly and a happy heart. No-one wants to look hangry in their photo.
Step 2….CLOTHES:
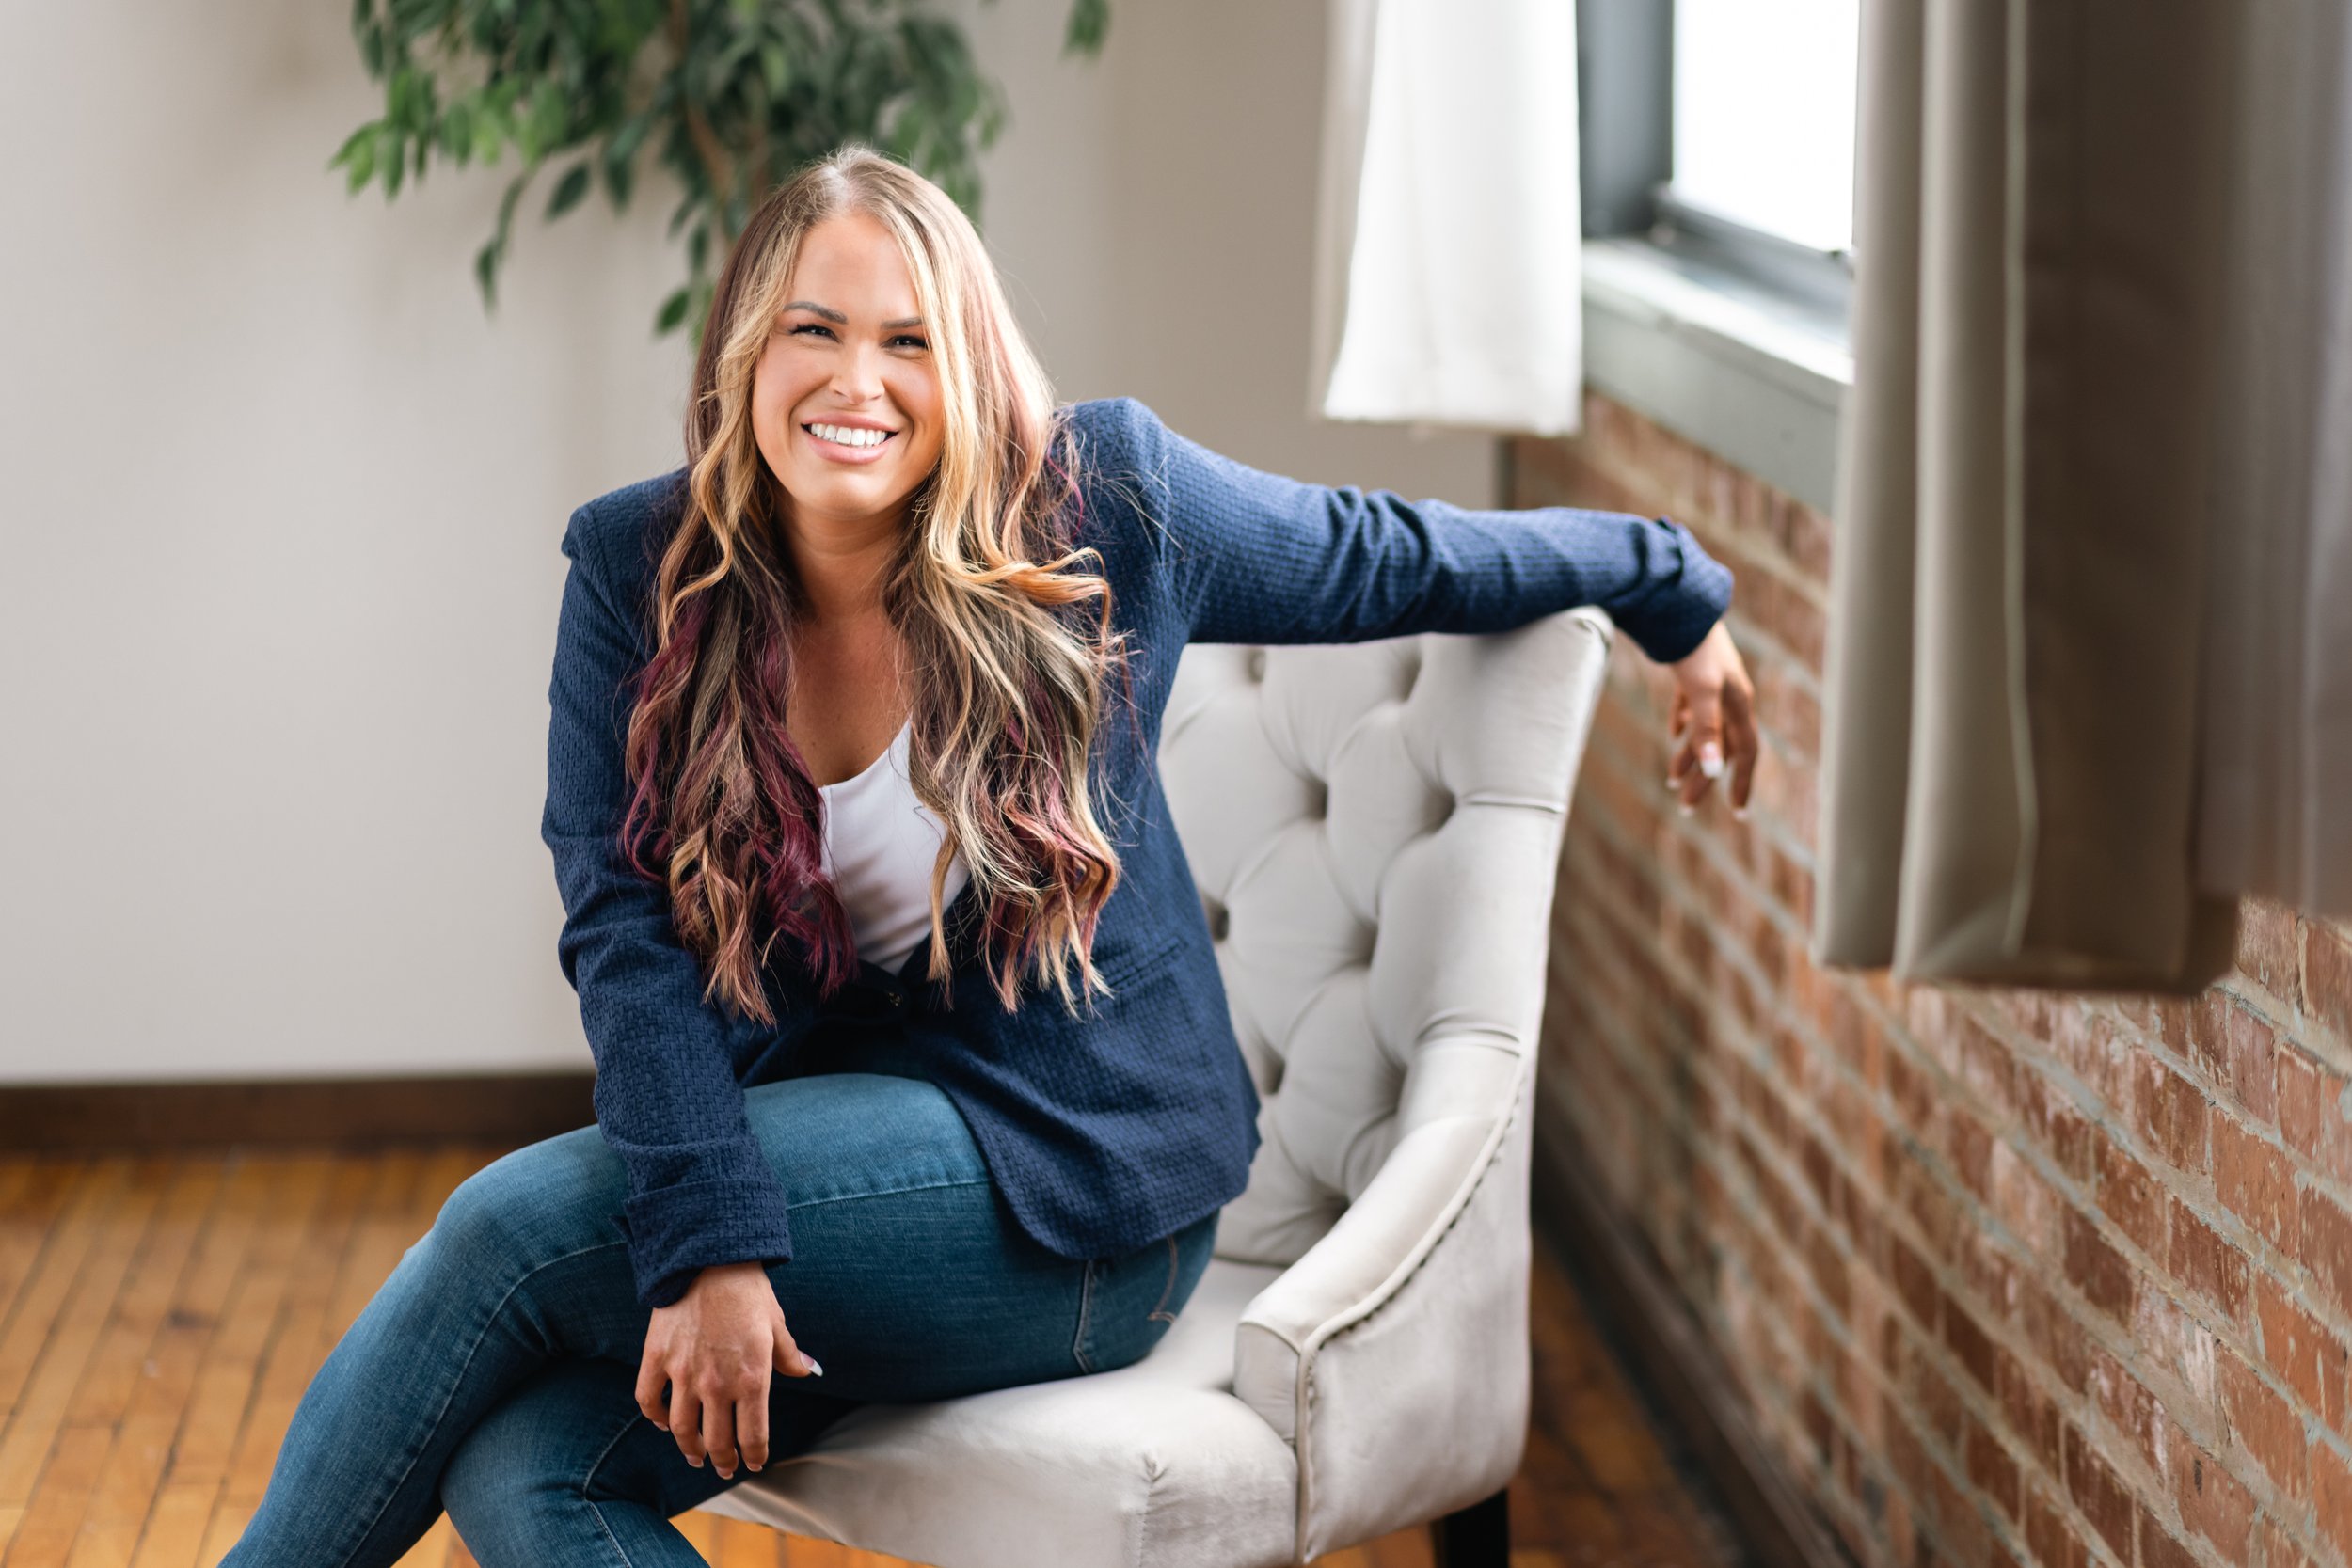
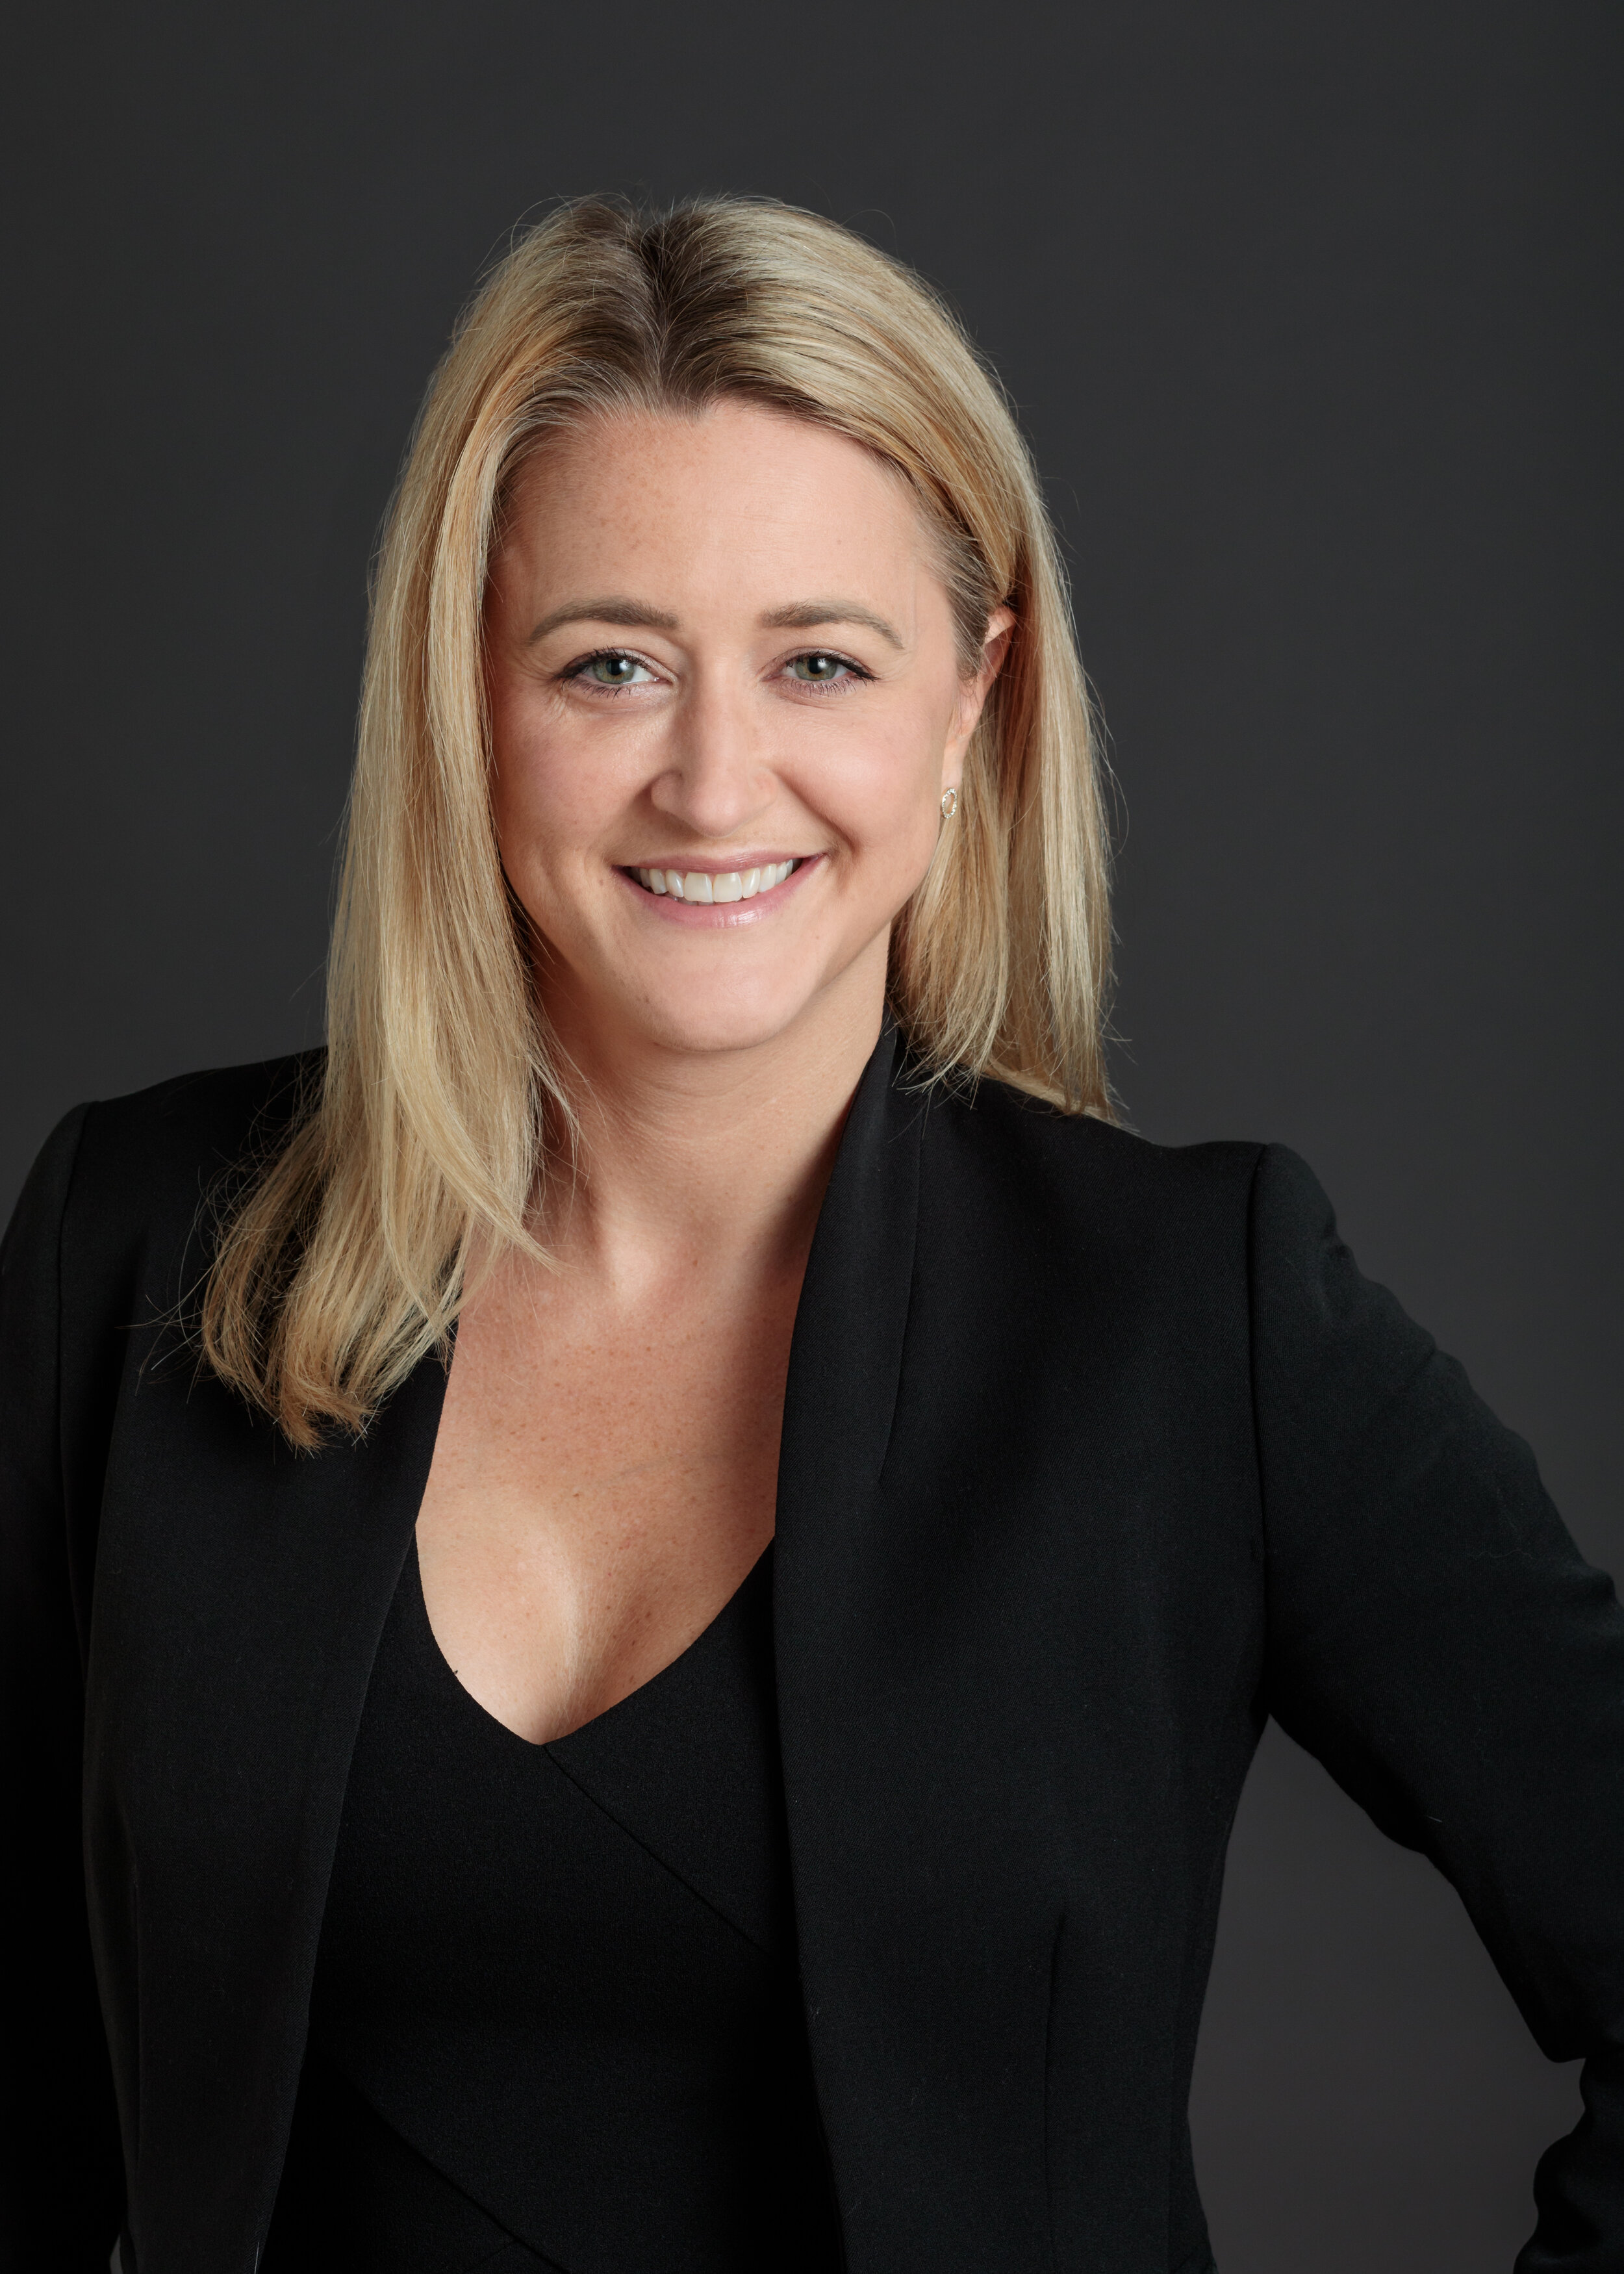
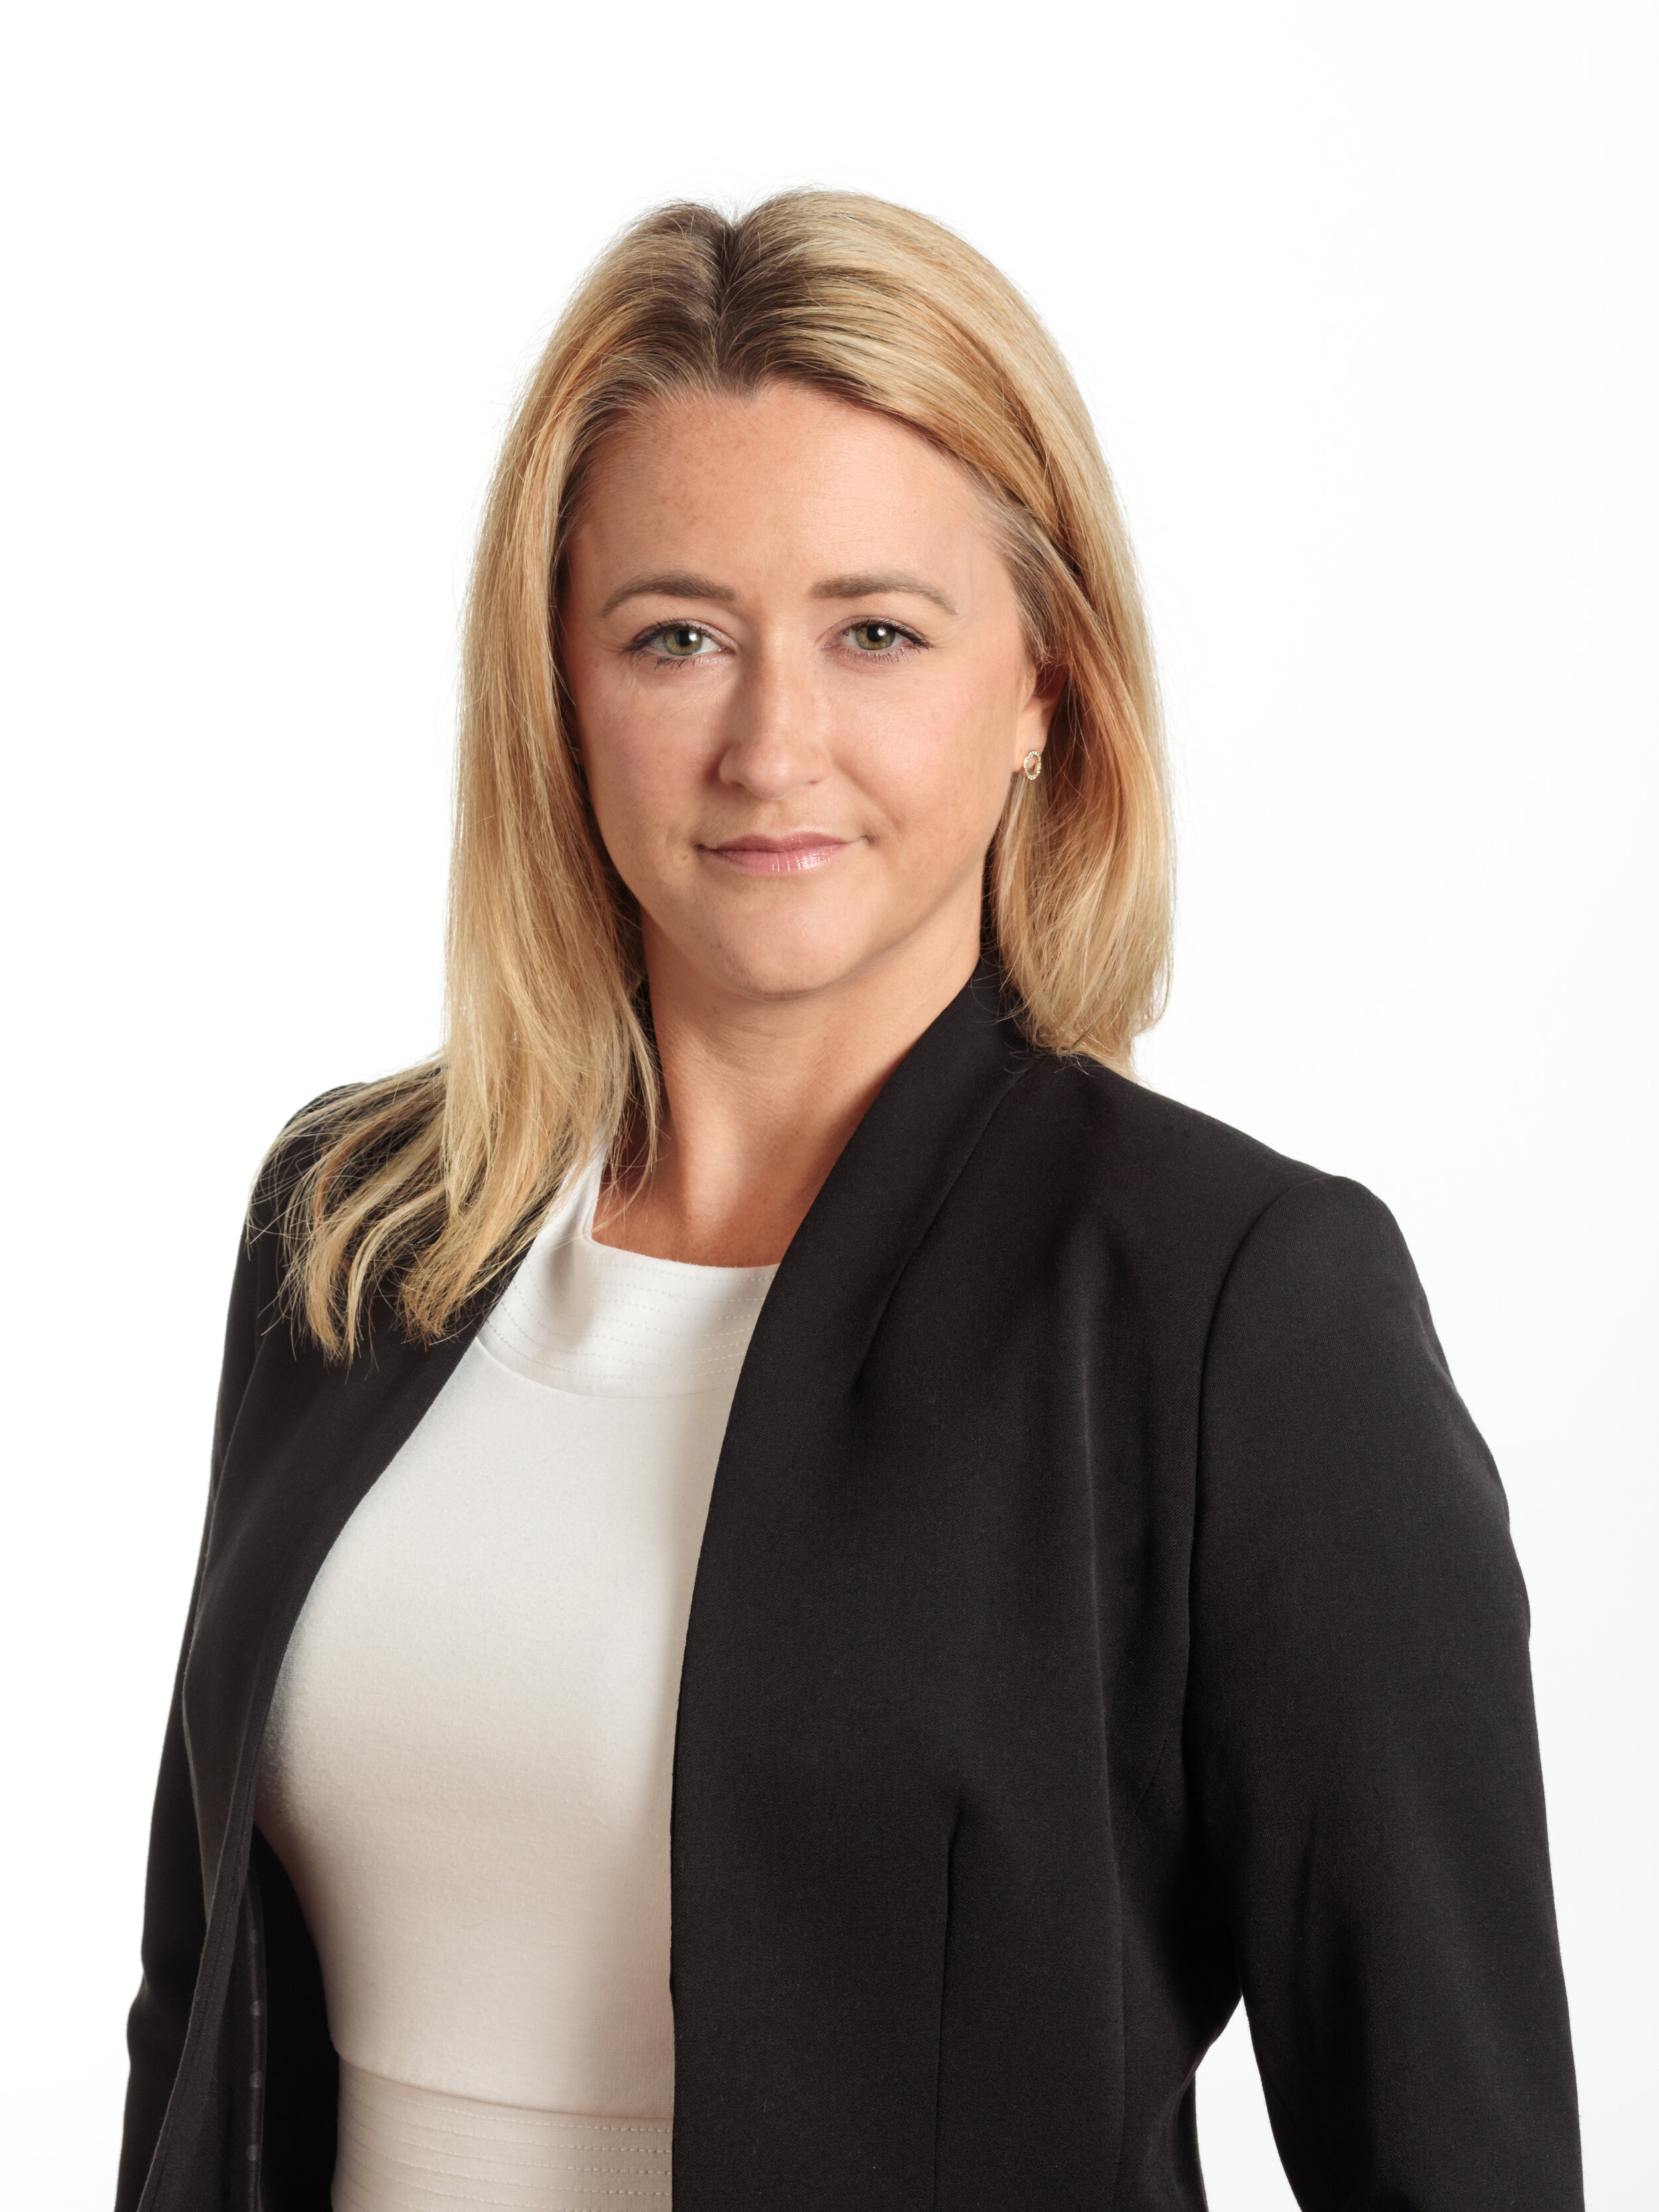
You can have anything you want, if you dress for it. When thinking about what to wear for your headshot session keep in mind what you’re trying to say about yourself. Are you selling yourself as a lawyer with years of experience? Or are you a creative who can bring other peoples’ brands to the next level? Keep this in mind when you’re thinking about the 5 most important parts of what you put on… Style, Pattern, Material, Color and Fit.
TOP STYLE
Collared shirts are an easy choice for a professional look. Other flattering necklines can work beautifully when paired with a necklace, or on their own.
If the images are for a company website your company will probably dictate what they would like. Do your best to adhere to their suggestions or you will stick out like a sore thumb on the website. If you work for a company who encourages individualism then by all means find clothing that fits your style and personality and let it shine.
Whatever style you choose for your headshot keep in line with what you’re comfortable in. Make sure it’s ironed and try not to snuggle the cat before coming in!
PATTERN
A plain, non-patterned shirt always works best. If patterned, a very subtle one is acceptable. Unless you are a fashion designer, or artist, or have some other profession that you want something that will be louder than you.
**and if you’re doing a video headshot then avoid stripes and lined patterns at all costs as they can cause visual banding in video that is a total distraction.
MATERIAL
Shirts that work best do not easily wrinkle and bounce-back when scrunched.
There are generally 2 things to creating a fabric. The type of cloth, and the weave pattern.
For a shirt that will stay wrinkle free think polyester blends, with a hint of spandex. (yes spandex makes for a great non-iron shirt). Cotton shirts have a tendency to be wrinkled by the time you get to the last button. That will not work well for a headshot that is scheduled for the afternoon and you have to wear the shirt to work. Some companies chemically treat the fabric to keep it from wrinkling so look for clothing that is labelled non-wrinkle or wrinkle resistant.
When it comes to the weave you can dress it up or keep it casual. If you want to instill a bit of flair to your look then go for a patterned weave like a herringbone or super fancy jacquard.
For a standard business casual look think the classic poplin or pinpoint oxford.
If shirt weave is more than you care to think about then simply find a classic look that is easy to keep ironed and crease free.
COLOR
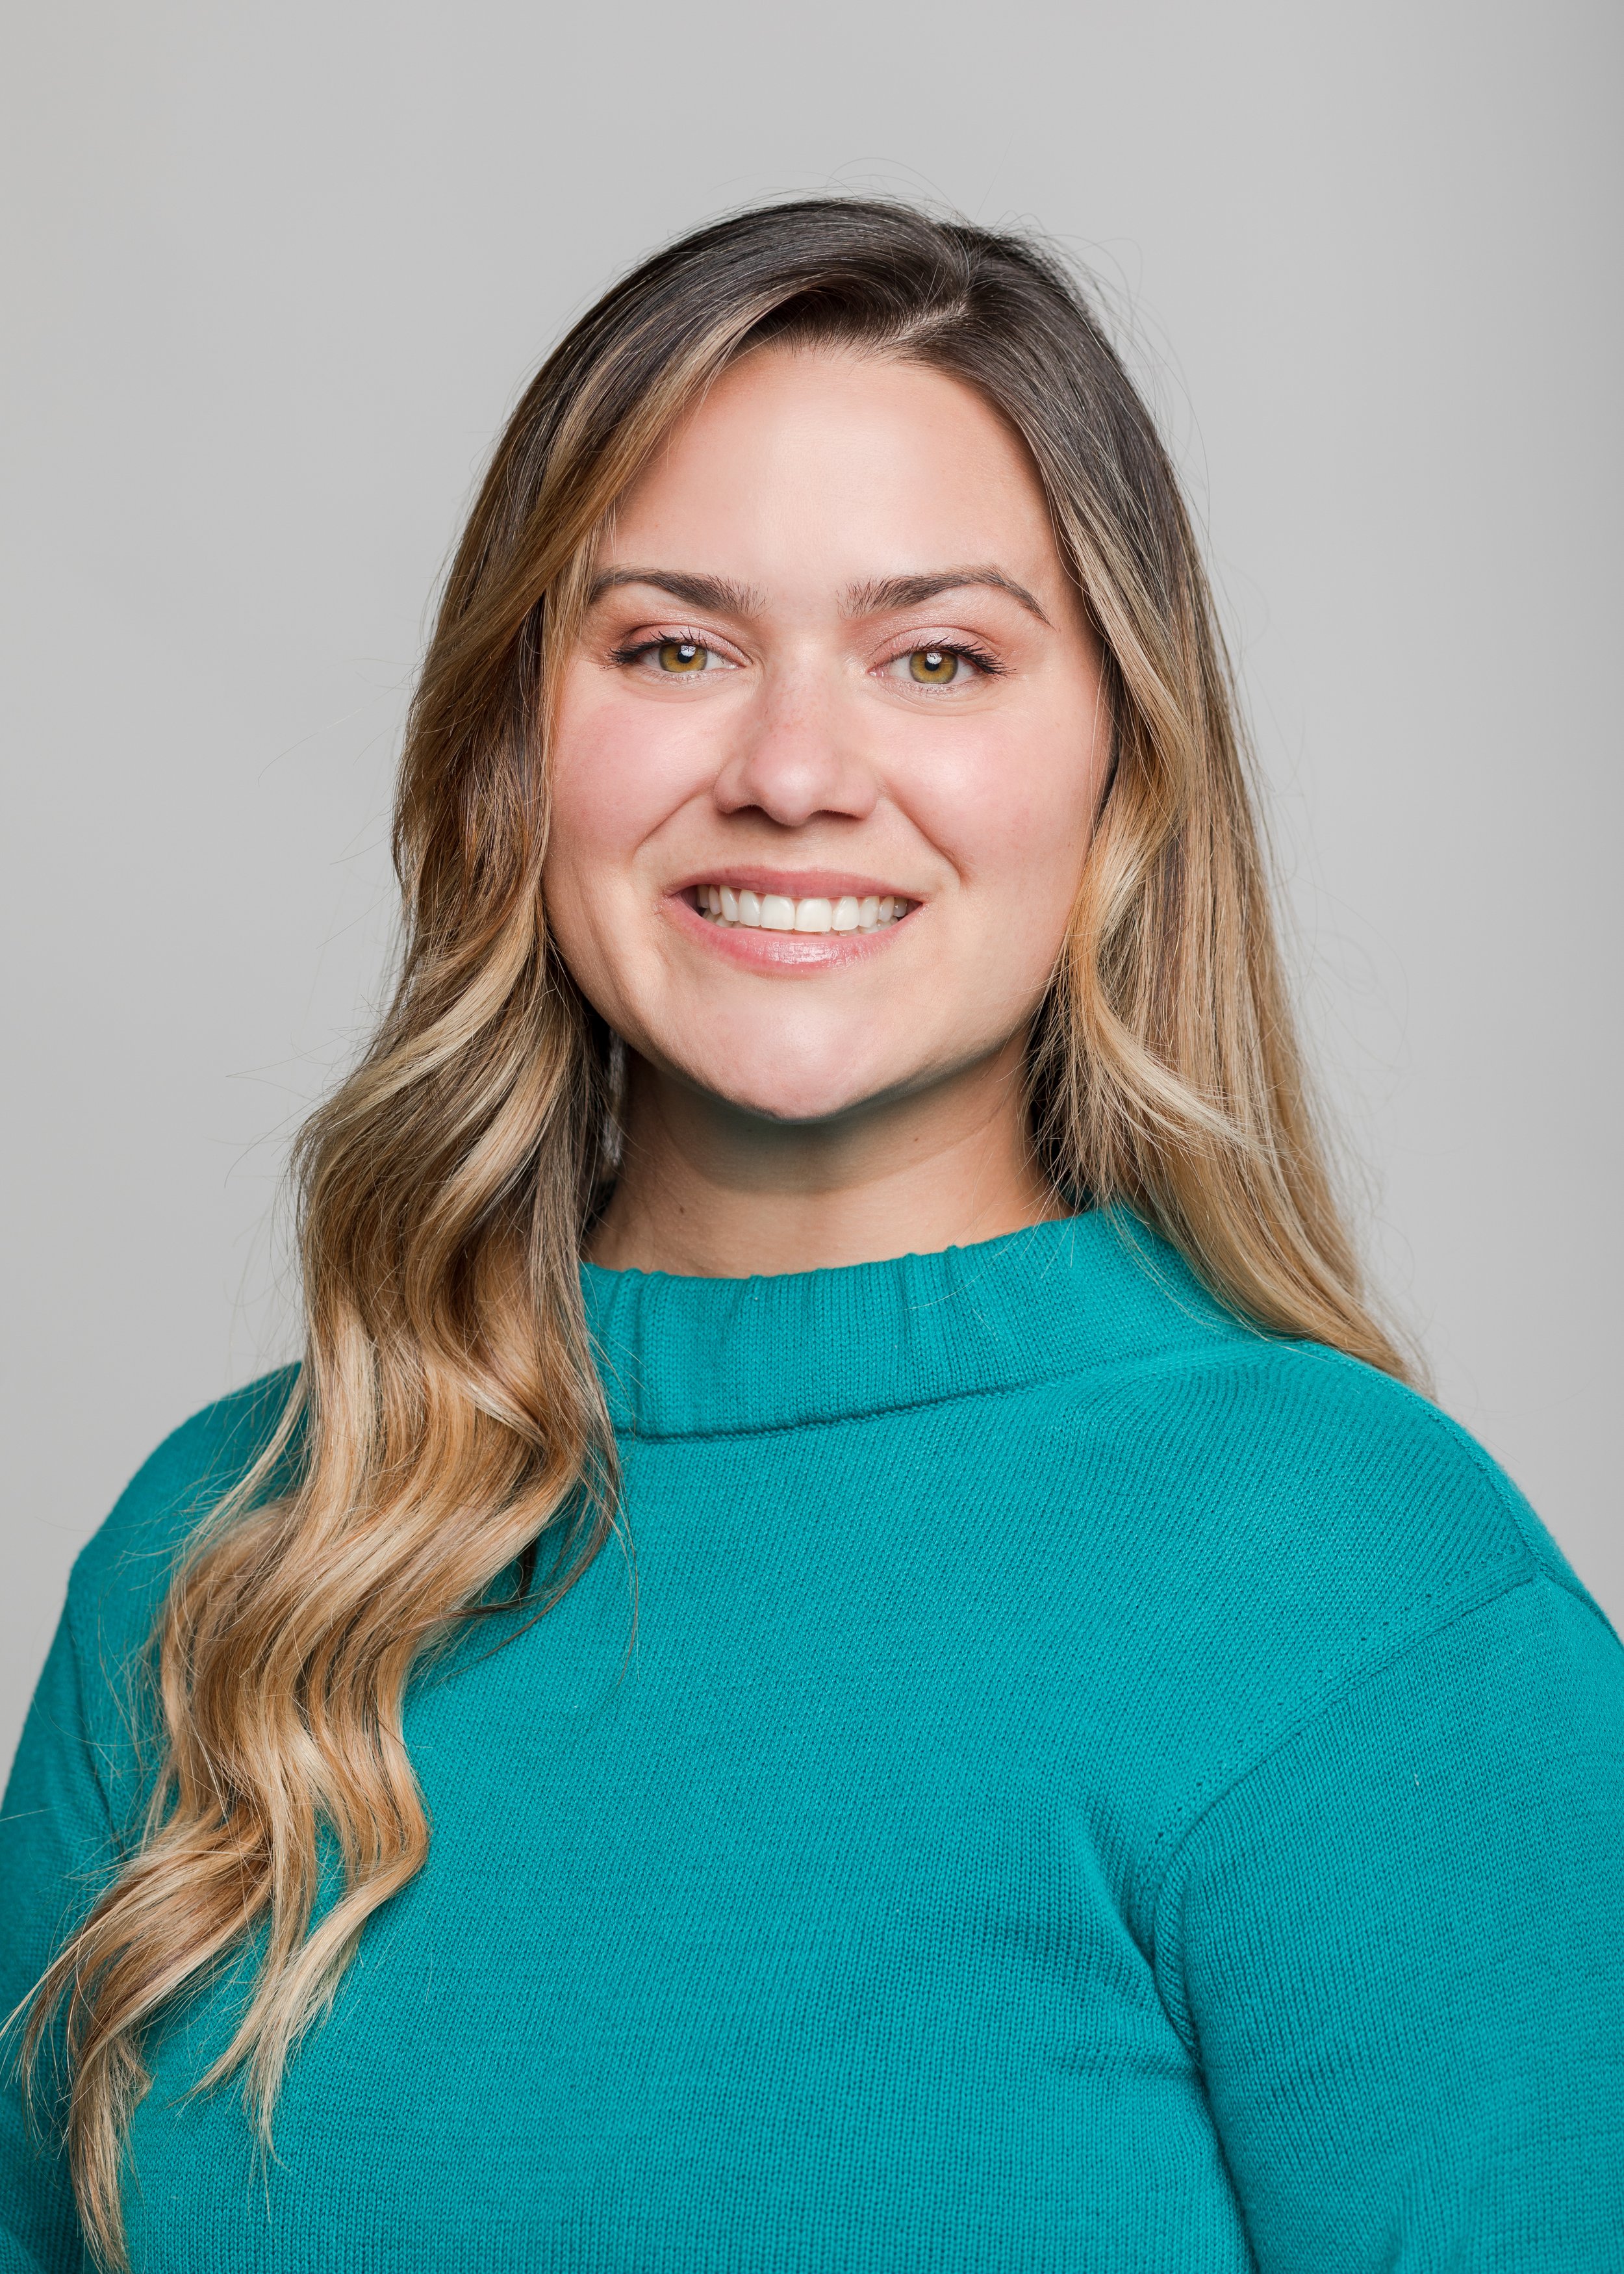
Have fun with color! You know what colors look best on you because everyone is always telling you when you wear that red shirt that you look great! go with it!
The color is up to you! Make it something that will add you your natural coloring. If you have blue eyes pick a color that makes them pop. If in doubt hold up different colored colored shirts to your face and see which look the best.
FIT
Keep your shirt and jacket on the looser fit side rather than a tight fitting shirt. A snug fitting shirt only works when there are no weight concerns. If not, the tight look can easily add around 10 extra pounds of “visual” weight.
An easy way to make sure your shirt fits well for a picture is to look at the top on and if you see any horizontal stretching then look for another. A well fitting outfit is better than a stylish one anyday.


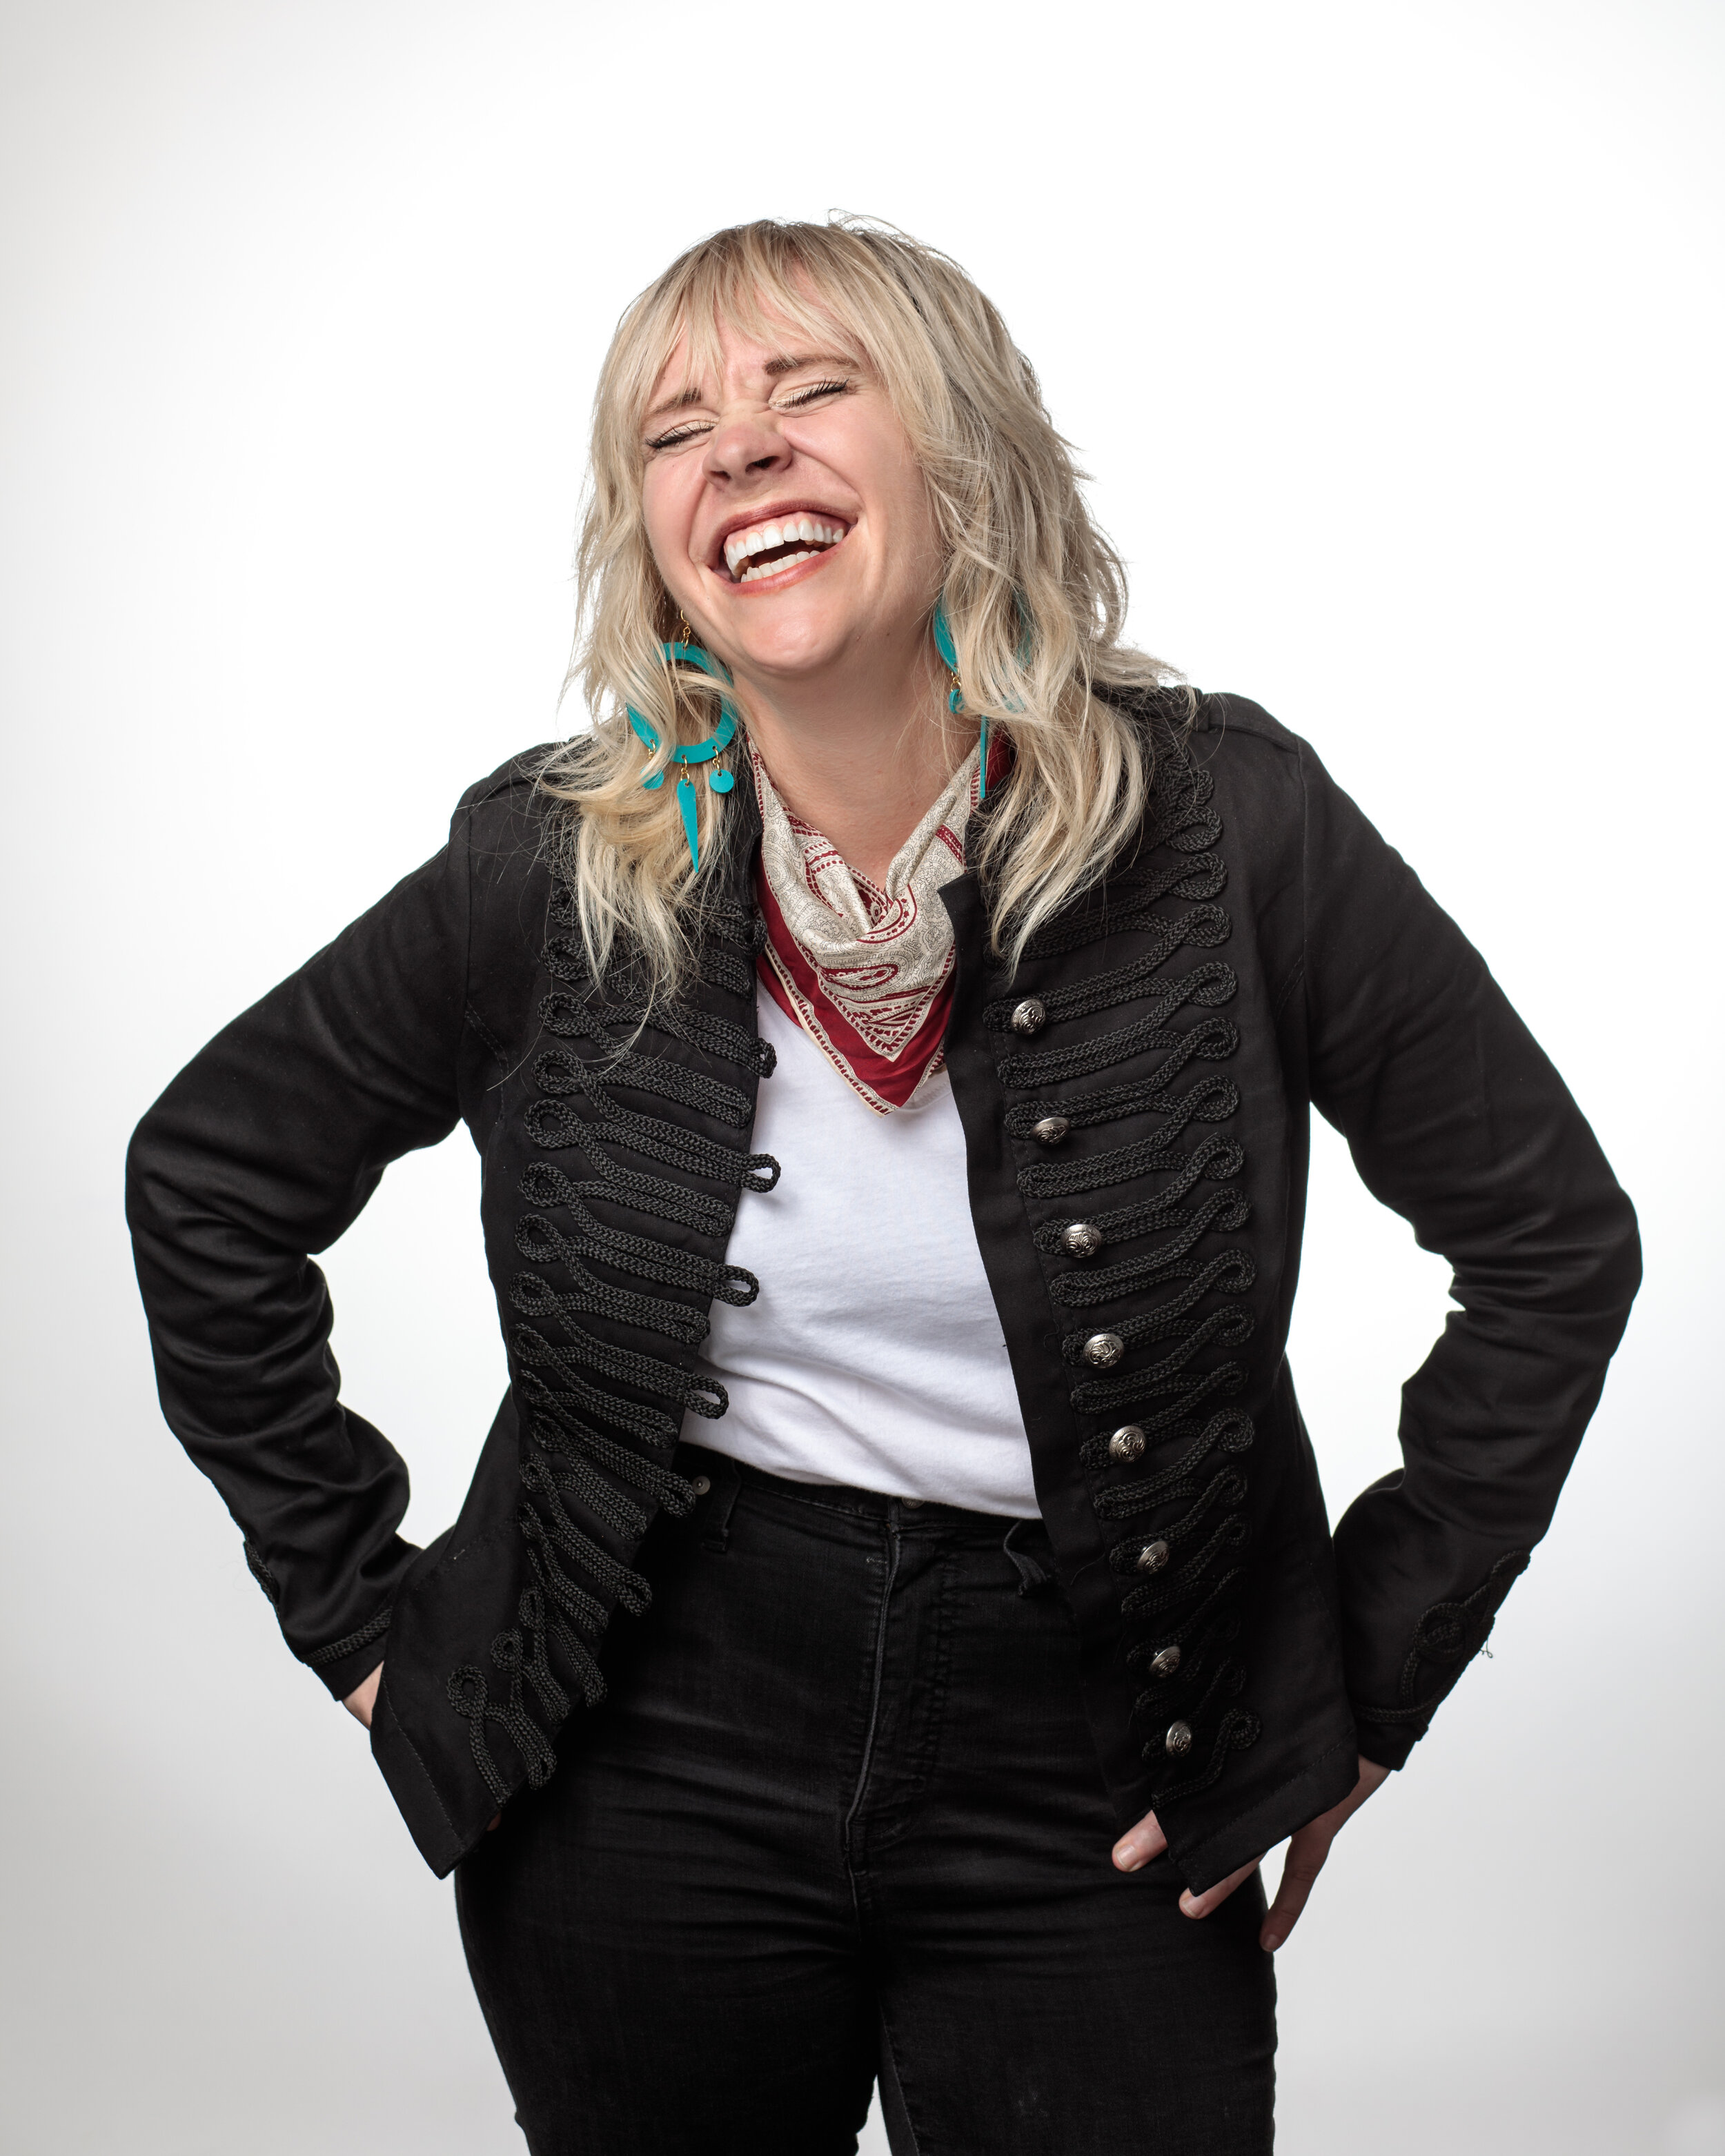
Step 3…..Your Face! or at least how you carry it.
Bring a happy heart and your smile will take care of itself.
Teeth or no teeth?
You know how you feel when you’re smiling naturally. Bring that through in front of the camera. If you feel self conscience infront of the camera it is your photographers job to put you at ease. and chat with you for a bit till you are comfortable and relaxed. Once you are feeling relaxed and happy, you will look relaxed and happy. A forced smile will come through as disingenuous in your headshot and that is not an impression we want to make. So trust yourself to smile in your most genuine way.
Your photographer may ask you to pose in a way that feels un natural or strange. I call it Camera Yoga! Trust the photographer to guide you to a pose that looks great in camera even if it feels weird when you’re doing it.
Remember, your session should only take a few minutes. It’s a short enough time to turn off the outside pressures of the day and simply be present.
Step 4….. Accessories-to amplify not override
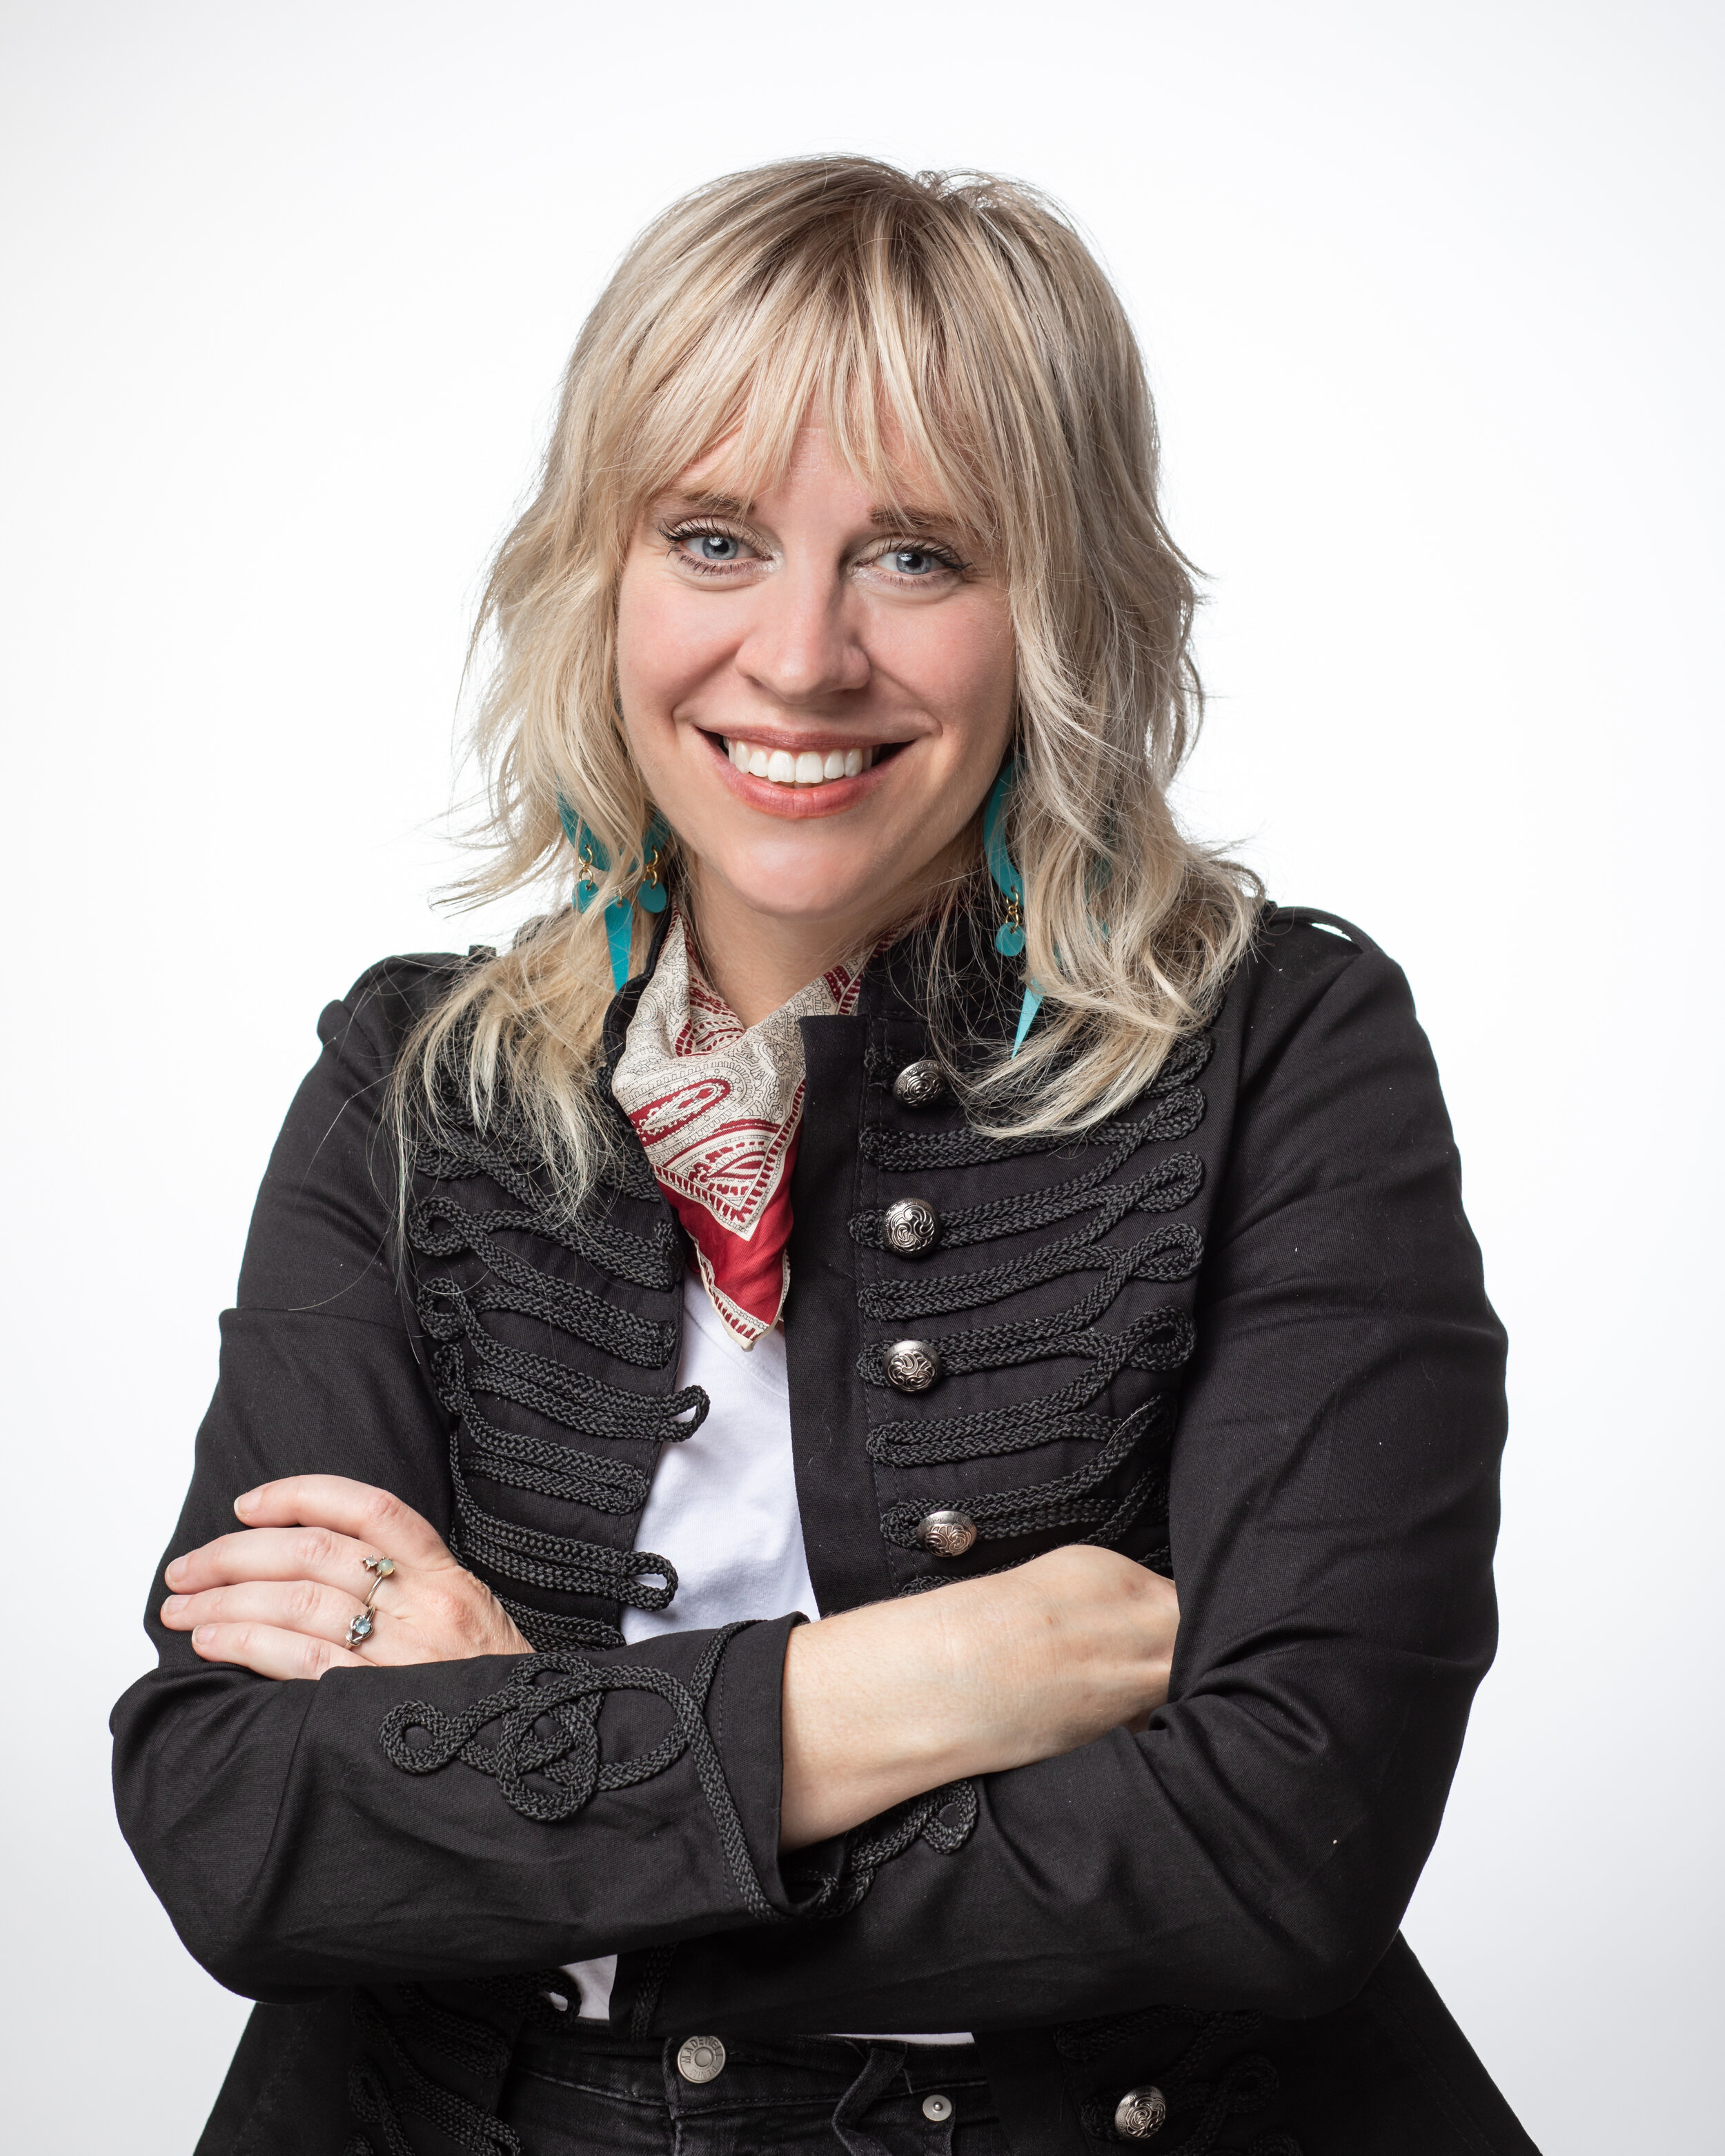
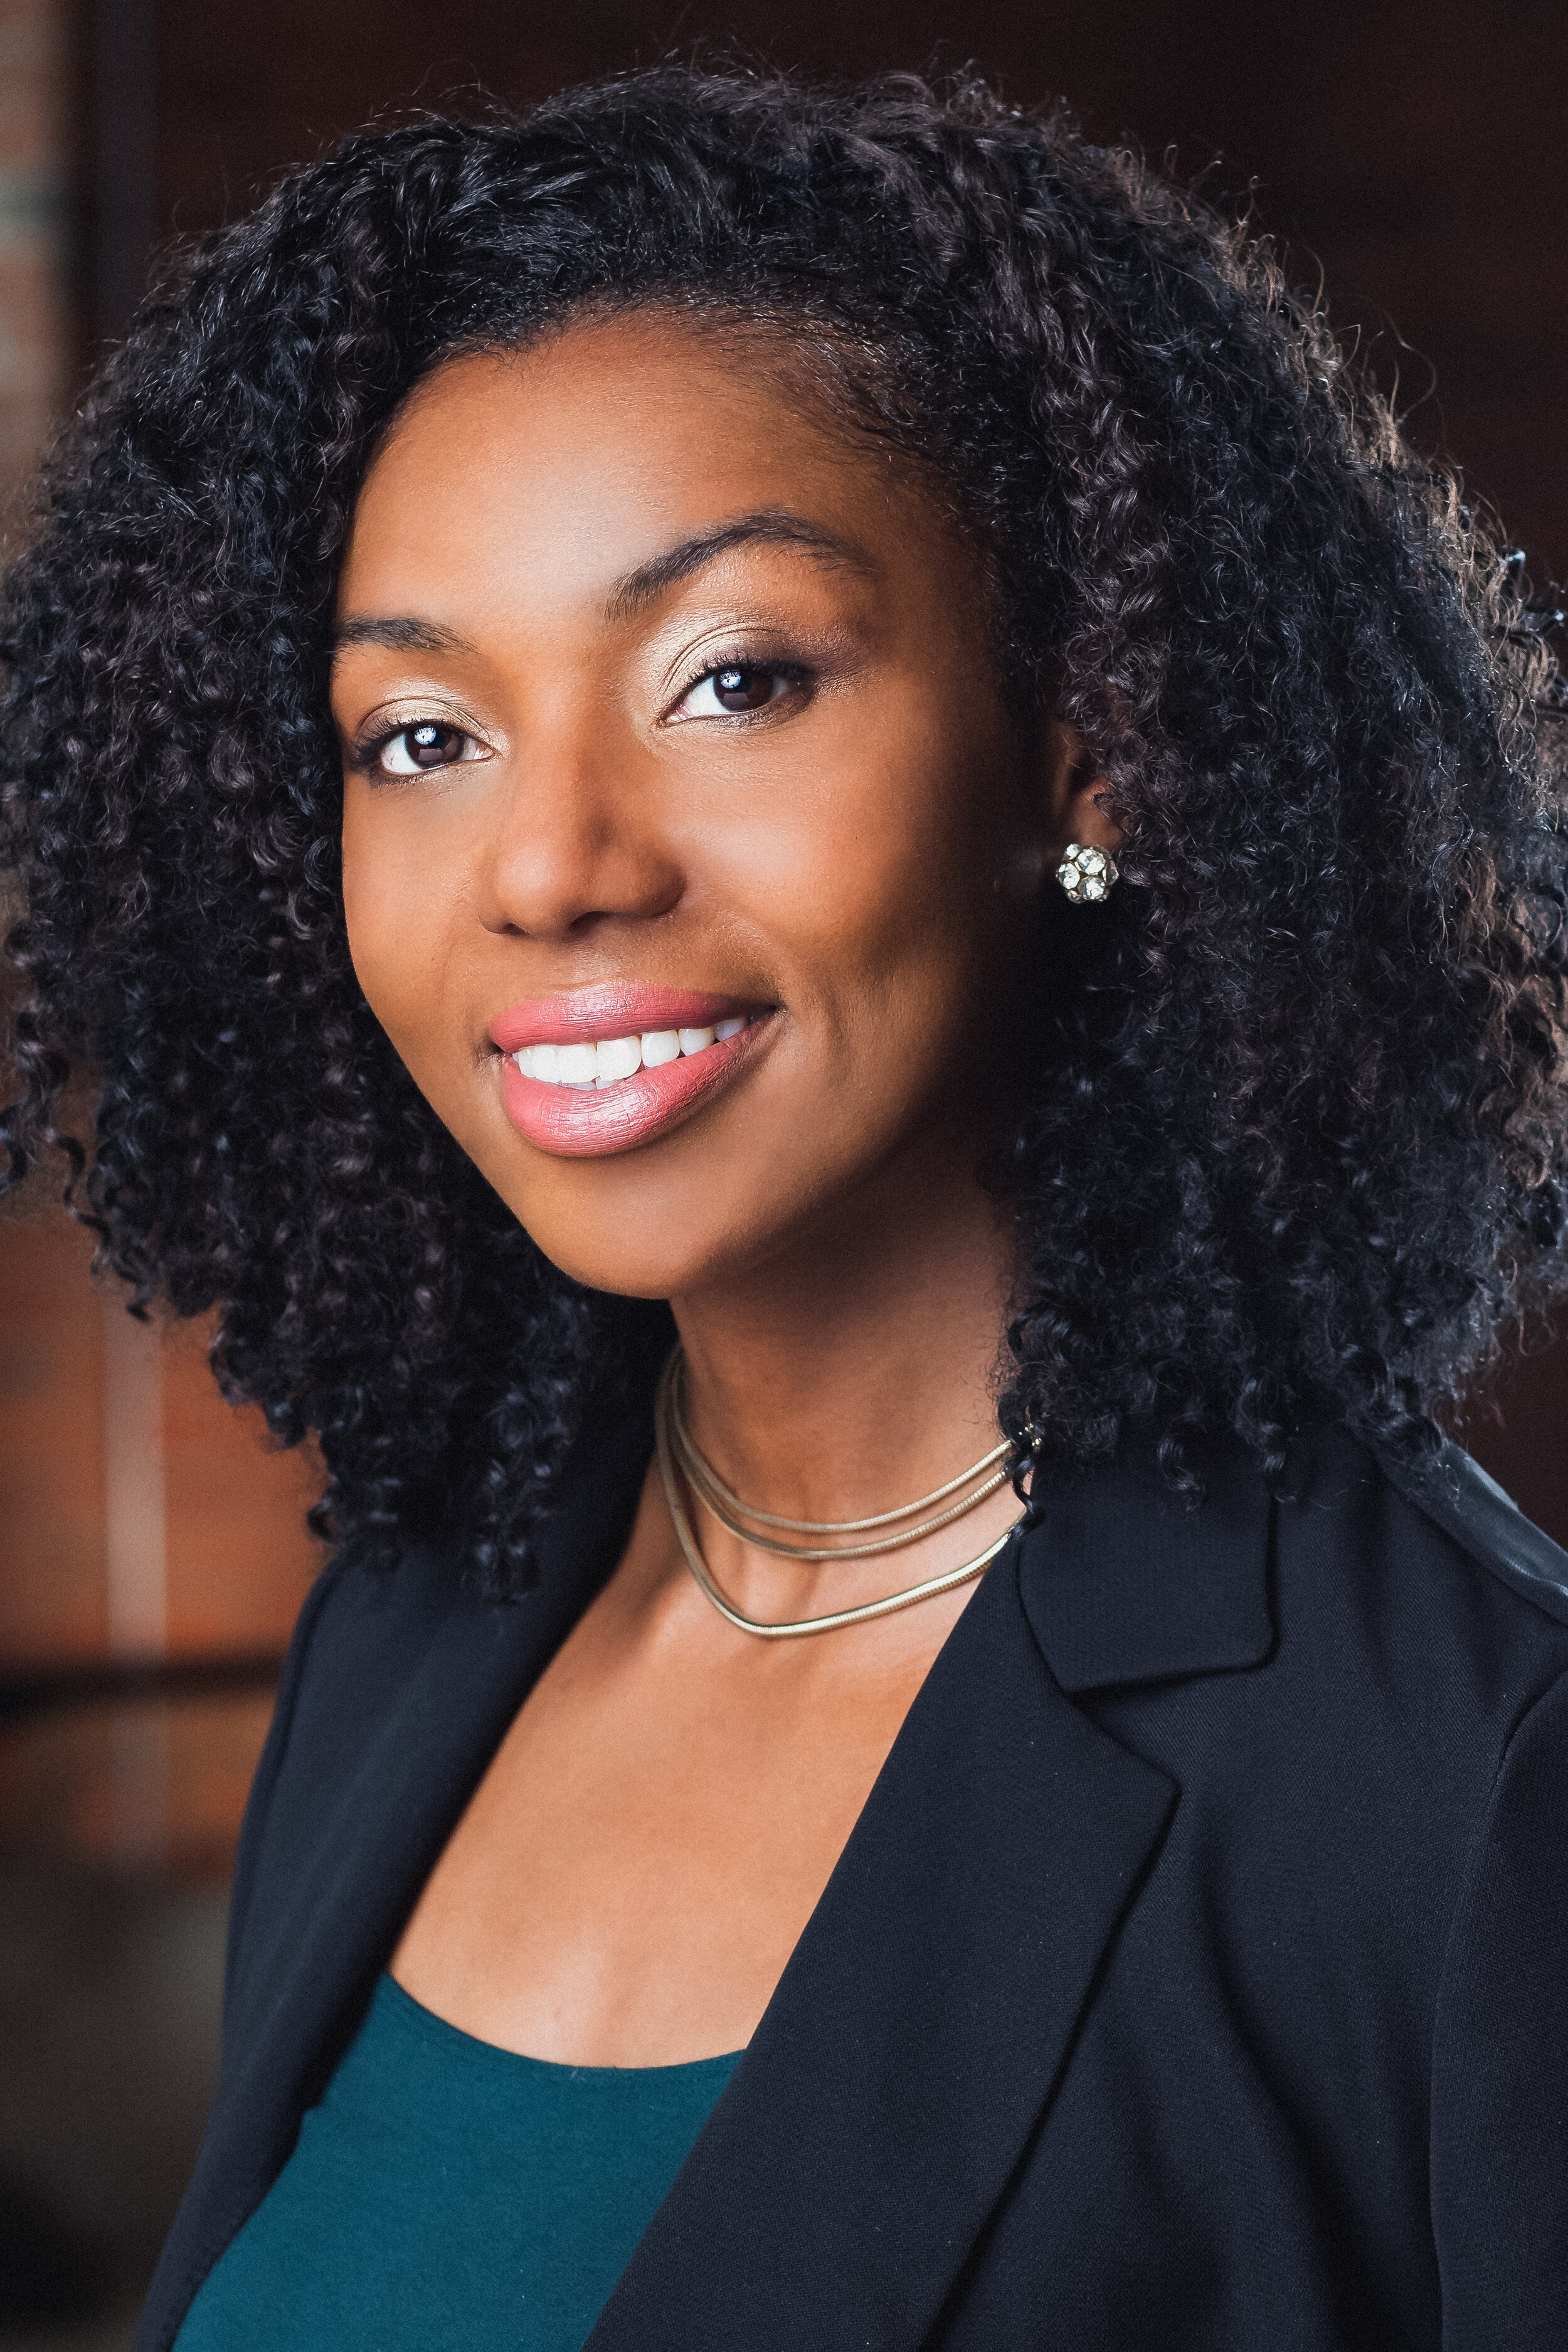
JEWLERY
Simplicity is the key. - people are drawn to shiny things. Less is more when it comes to getting someone to remember your face.
If you must wear jewelry, necklaces that photograph best are simple with no center focal-point design. Even though we can center a necklace feature, it may not appear to be so in the image – so much depends on how your body is angled.
Earrings that photograph best are simple. Dangling earrings can be problematic (for both men and woman) as with any sort of a tilt of the head the earrings will hang freely on one side, while falling askew on the other side of the face.
Bracelets & Watches, though do not generally become an issue in a headshot portrait, if there is a possibility that your hands might show, please keep any wrist-wear simple so that it does not distract and draw attention away from your face. Don’t forget to take that hair band off your wrist!
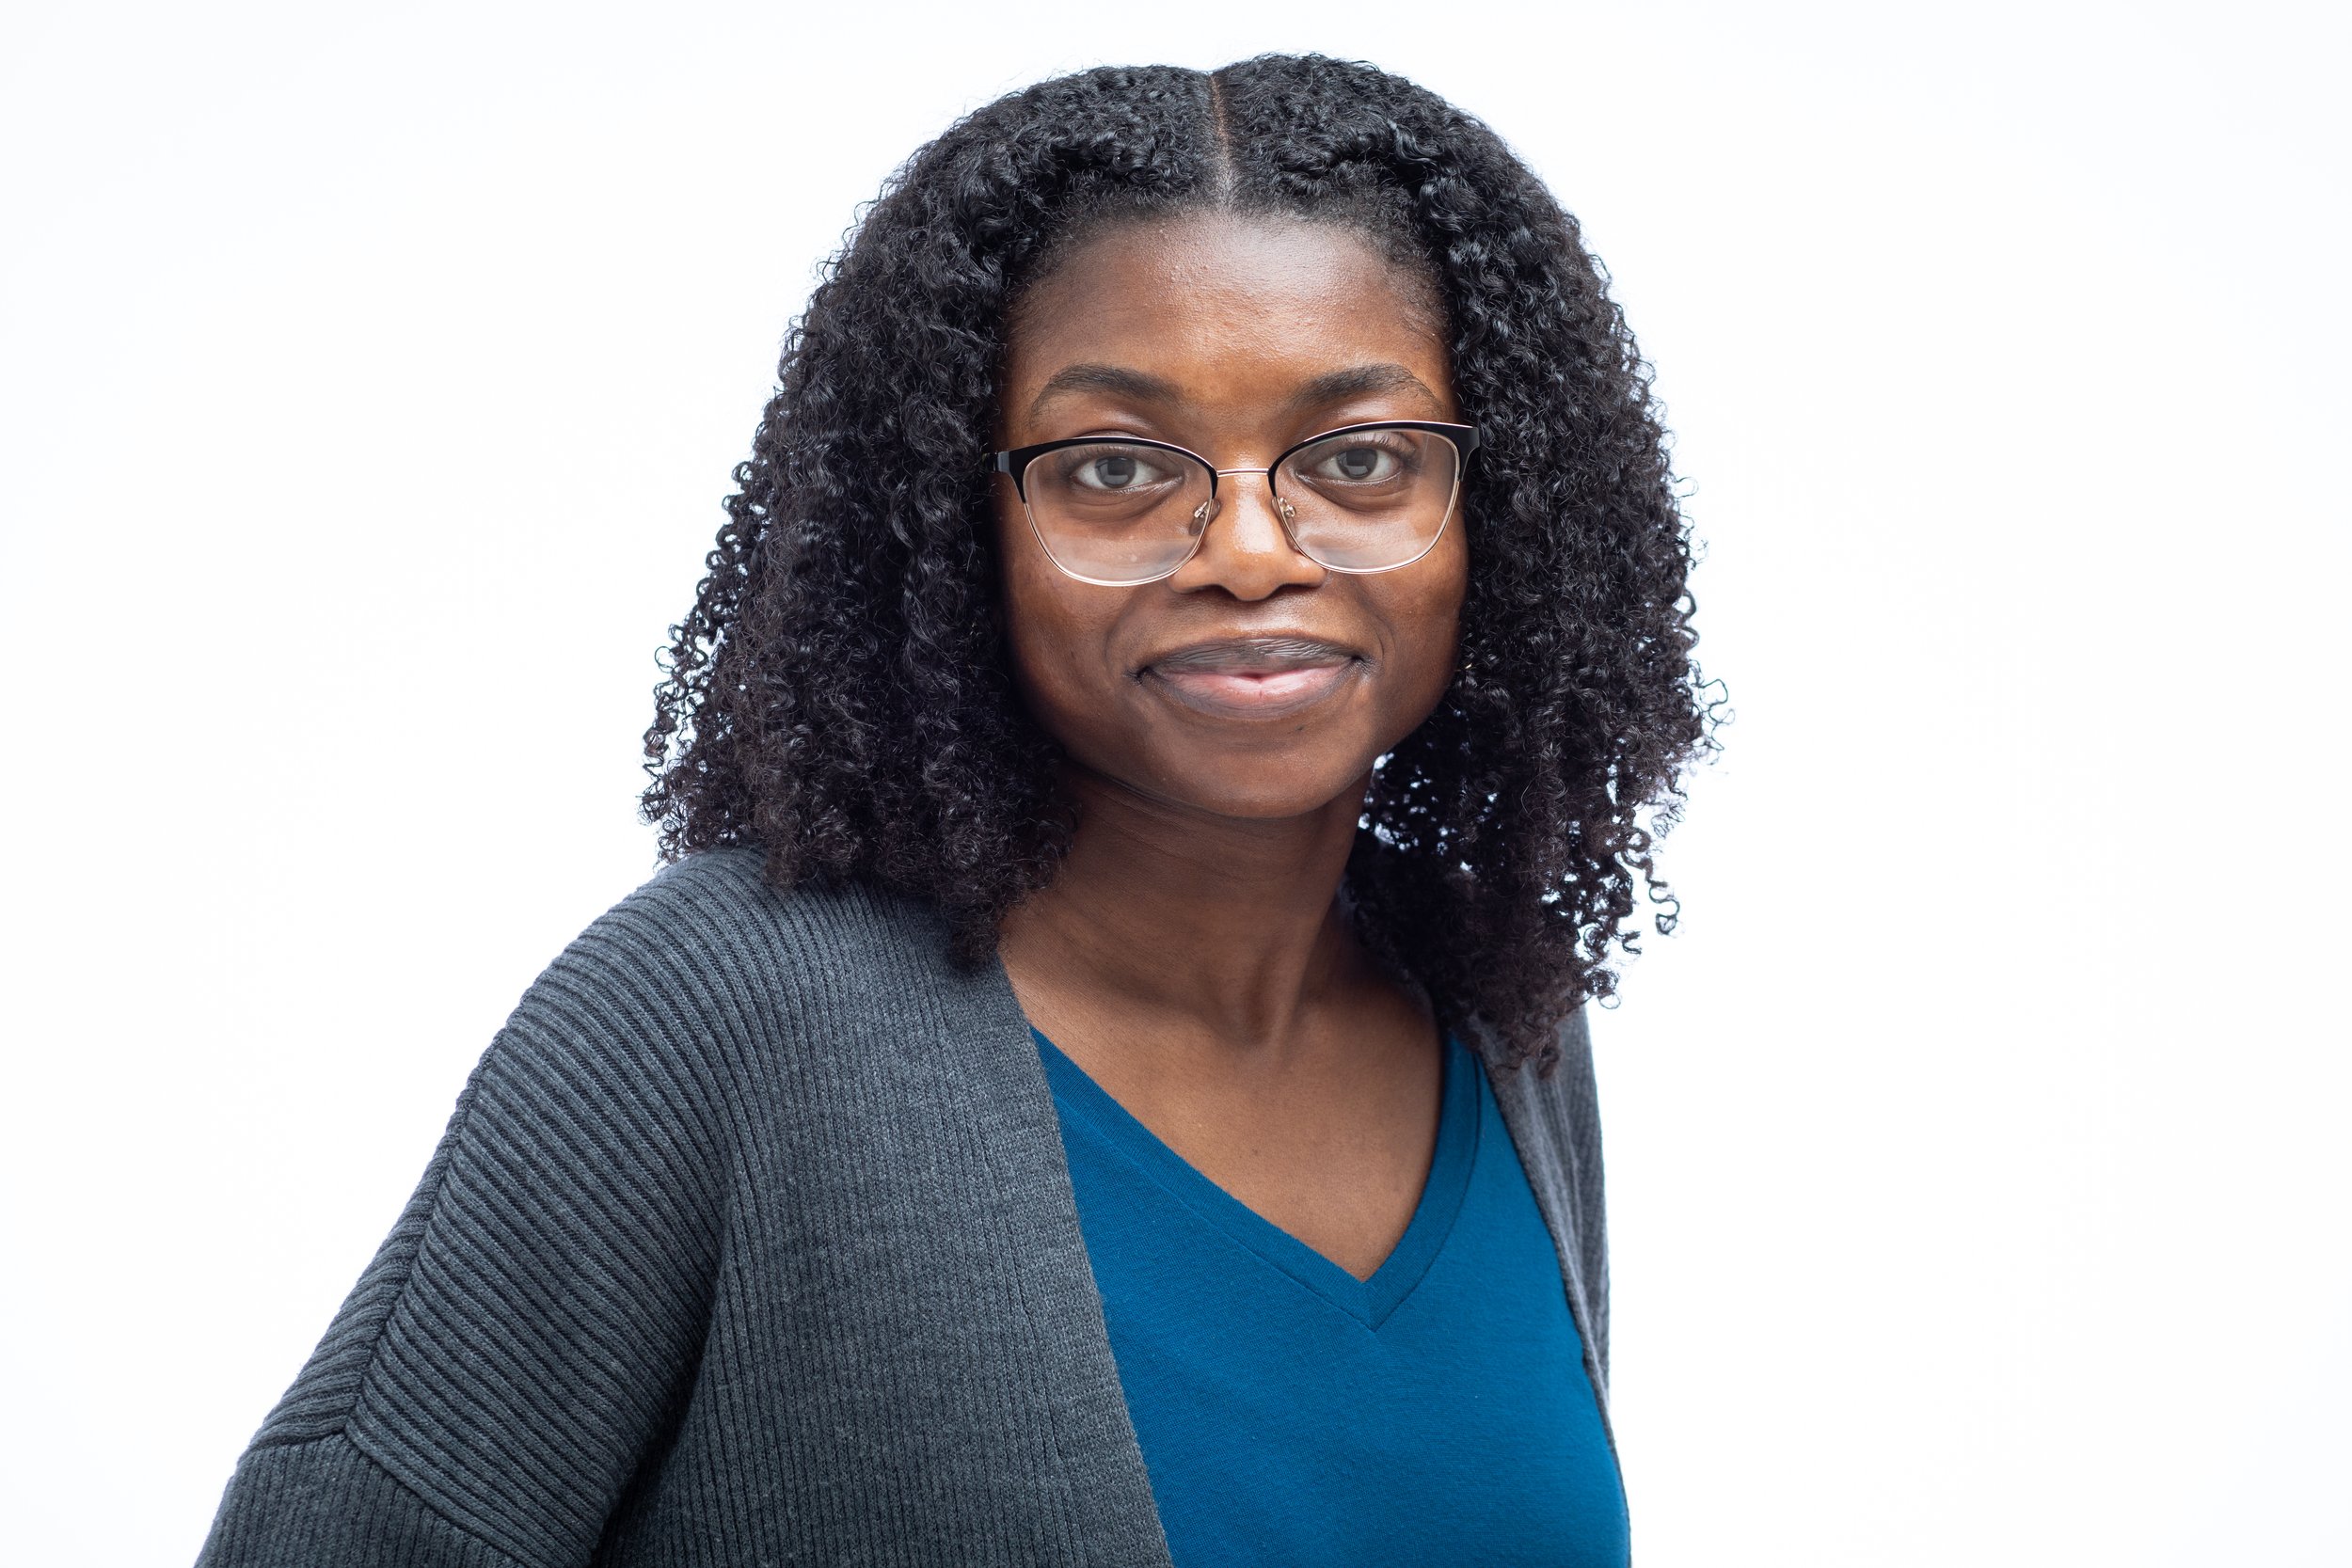


EYEGLASSES
A good photographer knows how to minimize the glare from our lights during the shoot, however the distortion the glasses may cause to your eye can not be limited. The above photos show how just a simple change to the angle of your head can reveal a reflection. If at all possible remove your glasses or have the lenses removed for the photo. If you love the glasses and they are part of you, then wear them! But realize you may need to limit the pose to keep the reflections at bay.
MAKEUP
Less is best! Avoid any shimmer or glitter as it can look like dandruff or skin imperfections on camera. Leave your makeup as you normally do it, or consider adding hair and make up to your headshot session. On-Camera make up is different than getting your makeup done for a fancy event, so ask your photographer if they offer the service as an add-on, or can suggest someone you can make an appointment with. If you have blemishes don’t panic! It’s easier to erase blemishes in the edit than it is to fix the caked makeup look.
I hope these tips get you ready to take on the world with a headshot that speaks to your personality and style, while keeping the focus on you.